A sample can be collected perfectly and still become a problem once it reaches the laboratory.
It gets logged incorrectly. It waits too long for processing. Someone cannot find it in storage. A result is delayed because the right person was never notified. Or someone opens a spreadsheet called Samples_Final_Final2.xlsx and starts searching.
These are not just inconveniences. A recent review indexed by PubMed found that 61% to 81% of errors affecting blood test results occur in the pre-analytical phase, before analysis even begins. The review, published in Ugeskrift for Læger, highlights problems such as hemolysis, incorrect tubes, and other issues that can arise before testing starts.
A 2026 PubMed study from a high-volume diagnostic centre in Bangladesh also identified sample misplacement and incorrect labeling among documented pre-analytical errors, with more errors occurring under higher workloads.
The answer is not simply to make every step faster. An effective laboratory sample workflow should make every stage easier to control, trace, and improve.
Here is how to build one.
1. Start With a Controlled Sample Intake Process
The first step is deciding what makes a sample acceptable before it enters the workflow.
Create clear acceptance and rejection criteria for each sample type and test. These should cover factors such as packaging, leakage, transport conditions, transport time, sample quality, volume, request-form completeness, and whether the information on the request matches the sample.
When a sample arrives:
- Verify it against the request.
- Check its identification, condition, volume, and container.
- Confirm transport requirements were met where applicable.
- Accept or reject it using predefined criteria.
- Record the decision and reason for rejection when necessary.
- Register accepted samples in the laboratory system.
A rejection should not simply mean “send it back”. Record why it was rejected and what action is required. This gives the laboratory data it can use to identify recurring collection or transport problems and address them at the source.
The result is a controlled starting point instead of allowing questionable samples to create problems further down the line.
2. Connect Sample Registration to Processing
Registration should not be a dead-end administrative task.
Once a sample is accepted, its record should connect directly to the work that needs to happen next. WHO recommends registering accepted samples with the information needed to identify the sample and the examinations to be performed. WHO’s laboratory quality guidance provides a framework for what should be captured during registration.
Define:
- What information must be captured at intake
- Which tests or processes are required
- Who is responsible for the next step
- What status means the sample is ready
- What happens when information is missing
The workflow should then look something like:
Receive → Verify → Accept → Register → Assign → Process
Keep the sample record connected to its testing and workflow information instead of re-entering the same details at every handoff. Centralized sample tracking, testing, scheduling, and real-time data access can help maintain that connection as the sample moves through the laboratory.
3. Build Traceability Into Sample Processing
Knowing where a sample is matters. Knowing what happened to it matters more.
For each sample, capture its status, location, handling history, relevant processing activities, and the people responsible for each step. Where chain of custody applies, document movements and transfers as well.
A good test is simple: if someone asks about a sample three weeks later, can your team reconstruct its journey without interviewing everyone who touched it?
Barcode identification, centralized records, audit trails, and automated status updates help create that visibility. Barcode-based tracking can connect collection, labeling, processing, storage, and disposal to the same sample record.
The goal is not more data. It is less detective work.
4. Reduce Delays Between Workflow Stages
Before trying to speed up the lab, find out where time is actually being lost.
Map the time between:
Receipt → Registration → Processing → Testing → Review → Reporting
Then look for recurring delays caused by:
- Manual data entry
- Unclear ownership
- Missing information
- Samples waiting for assignment
- Manual handoffs
- Difficulty locating samples
- Equipment or resource constraints
Set a turnaround time for each examination and monitor it. The WHO’s TAT guidance recommends investigating increases in samples exceeding expected turnaround times so recurring causes can be addressed rather than repeatedly worked around.
This is where dashboards, automated notifications, scheduling, task assignment, and real-time workflow status become useful. Instead of discovering a delay after the result is late, your team can see where work is waiting while there is still time to act.
TAT is also more than an internal efficiency metric. When samples move predictably through the workflow, laboratories can provide more consistent service to the people and organizations relying on their results. This is one reason effective sample management matters beyond the laboratory floor.
5. Manage Storage Without Losing Visibility
Storage is still part of the workflow.
Define where samples should be stored, record their locations, and track movement in and out of storage. Where applicable, monitor storage conditions and set alerts for issues such as expiry or required action.
Most importantly, keep storage information connected to the sample record.
A sample sitting in a freezer should not become a sample that has effectively disappeared from the system.
Location and inventory tracking can make samples easier to find while giving teams better visibility into what is stored, where it is stored, and what needs attention.
6. Make Disposal a Controlled Final Step
Disposal should be the final stage of the workflow, not the point where documentation suddenly stops.
First establish:
- How long each sample type must be retained.
- What makes a sample eligible for disposal.
- Who is responsible for authorizing or performing disposal.
- What disposal information must be recorded.
- How the digital record is retained after physical disposal.
The objective is simple: you should be able to tell not only that a sample was disposed of, but when and under what process it was disposed of.
That completes the lifecycle:
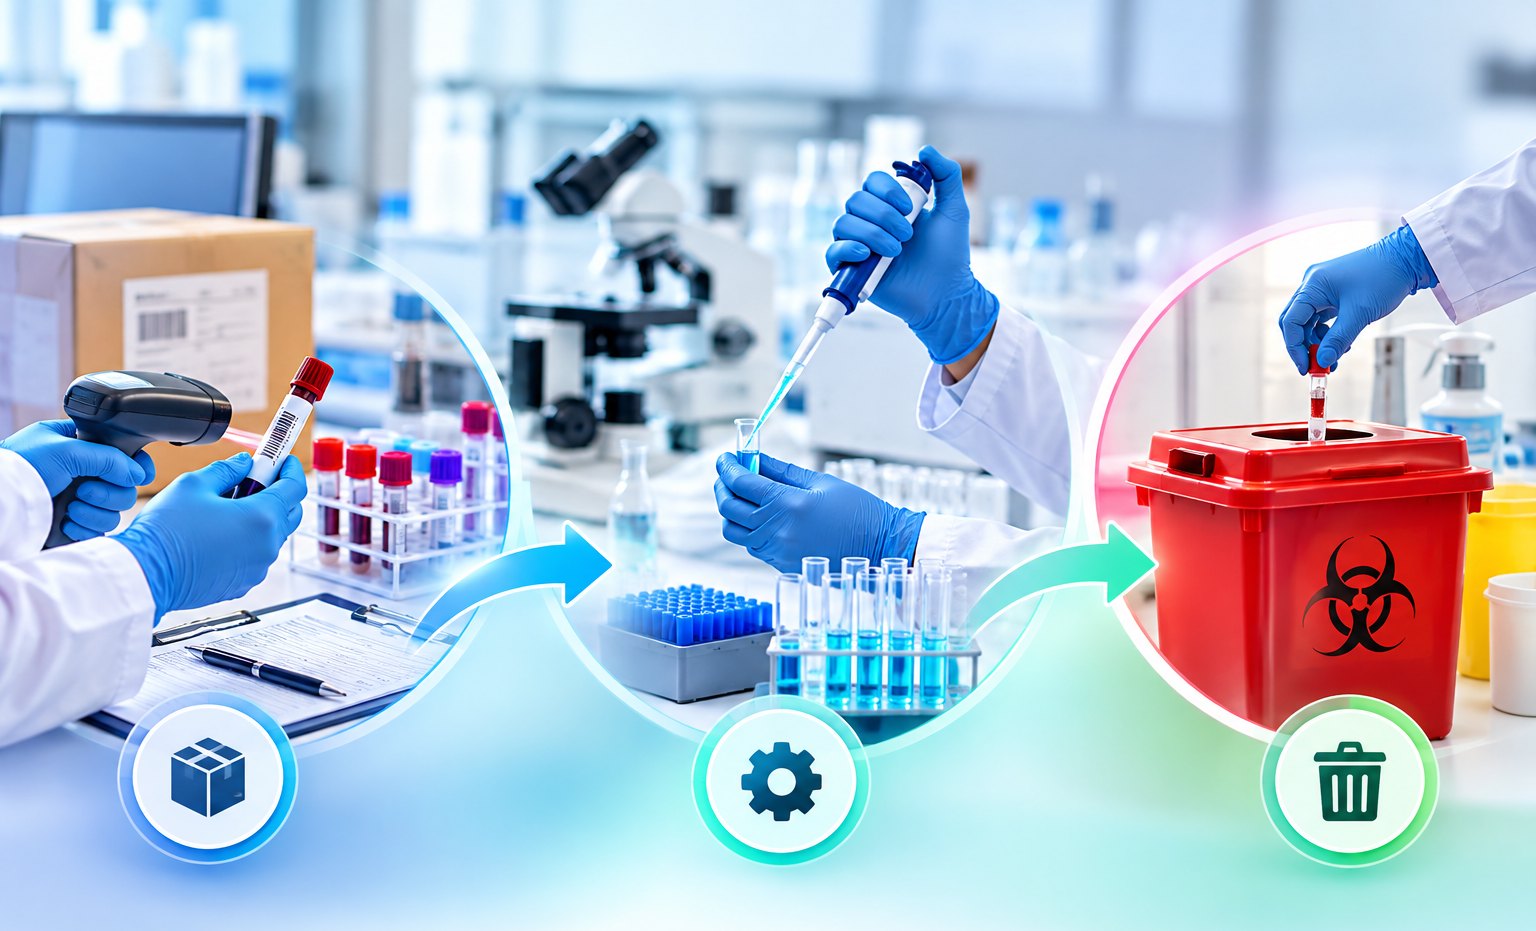
Intake → Processing → Testing → Storage → Disposal
7. Improve the Workflow With Connected Laboratory Software
Once the workflow is mapped, software should connect those steps rather than create another system for your team to maintain.
When evaluating a laboratory system, look for essential sample-management features such as sample tracking, barcode identification, centralized records, automated workflows, scheduling, inventory management, alerts, reporting, and audit trails.
The difference is important.
A disconnected workflow might look like:
Spreadsheet → Email → Paper form → Another spreadsheet → Storage log
A connected workflow can keep the sample record, testing information, location, status, and history together.
For example, a laboratory system can assign work, update sample status, record movements, provide alerts, and make information available to the people who need it. QISS LAB brings sample management together with testing, scheduling, inventory, reporting, data management, and document control so these activities can work from connected information.
The quality side matters too. SOPs, document revisions, training, corrective actions, and quality records support the sample workflow rather than sitting in a completely separate administrative world.
8. Use a Simple Framework to Keep Improving
A laboratory sample workflow should get easier to manage over time, not become another process your team has to work around.
Use six simple steps:
Map → Understand how samples actually move through the laboratory.
Measure → Monitor TAT, rejection rates, delays, and recurring errors.
Standardize → Define consistent criteria, responsibilities, and procedures.
Connect → Keep sample, testing, storage, and quality information together.
Track → Maintain visibility into status, location, handling, and history.
Improve → Focus on the steps that repeatedly create delays or errors.
This turns workflow optimization into an ongoing cycle rather than a one-time cleanup.
Make Sample Workflows Easier to Control
An optimized sample workflow is not about adding more steps. It is about making the right steps visible, consistent, and connected.
When your team can see what arrived, what needs to happen next, where a sample is, who is responsible, and what happened to it, there is less room for delays and fewer reasons to start searching through old spreadsheets.
That is where a connected LIMS can make the difference. QISS LAB brings sample management, tracking, testing, scheduling, inventory, reporting, and document control into one laboratory management system, with real-time access to sample information and workflow activity.
If your current workflow still depends on scattered spreadsheets, manual updates, and people remembering what happened three days ago, it may be time to connect the process.
Request a free QISS LAB demo to see how it can do that for you.